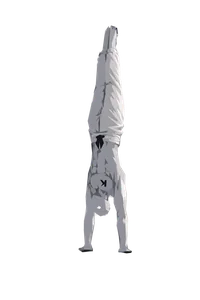
The wall handstand is the first true handstand position most athletes learn, and it stays in the training rotation long after that: the wall removes the balance problem so you can spend your energy on building the strength, shoulder mobility, and rigid body line that every later handstand variation depends on. It is the foundation for the freestanding handstand, handstand push-ups, and eventually one-arm work — get the position right here and everything built on top of it becomes far easier.
Technique
- Set up facing a clear, flat wall with a mat or soft floor in front of you.
- Start in a push-up position with your feet against the base of the wall, hands shoulder-width apart and placed two to six inches from the wall — close enough to stay tight, far enough that you do not tip over.
- Walk your feet up the wall while walking your hands in toward it, until your body is stacked in an inverted line with your stomach facing the wall. Beginners can stop short and only touch the wall with the tips of the toes; more advanced practitioners bring the stomach fully against it.
- Lock your elbows straight and push your shoulders away from your hands — think "shoulders as earmuffs" — with your scapulas fully elevated, then retracted slightly at the top for stability.
- Extend your thoracic spine so your chest stays tall, and posteriorly tilt your pelvis by squeezing your glutes and bracing your abs toward your spine. This removes the natural lower-back arch, the most common technique fault in handstands.
- Keep your legs together, knees locked, and toes pointed so the whole body reads as one rigid line from wrists to toes.
- Make every balance correction through your wrists and fingertips only — spread your fingers and press through the fingertips. Do not use your shoulders or hips to "fix" the position; that habit is hard to unlearn later.
- To exit, either walk back down the wall the way you came, or lower under control and roll out (tuck the chin, curl into a ball, and roll through the upper back) once you are comfortable with a forward roll on the ground.
Preparation
Equipment and conditions
A clear, flat, sturdy wall with a few feet of open floor space in front of it. A mat or soft flooring is recommended for beginners still learning to exit or roll out safely.
Before loading up wall handstand holds, you should already be comfortable holding a wall plank — leaning into the wall from a push-up position with your hips elevated and your body braced. That teaches the shoulder and midline tension this skill needs without yet asking you to invert fully. From there, wall handstand work is what actually builds the position: locked elbows, elevated scapulas, a flat lower back, and a straight line through the hips and legs, held long enough that it becomes automatic. Once you can hold that position near-motionless for thirty seconds, you are ready to start splitting your training between wall holds and kicking up to a freestanding handstand.
Risks
Holding weight through the wrists and fingers for long sets can aggravate the wrists and forearms if you skip a warm-up — build up hold time gradually. Arching the lower back to compensate for a weak or fatigued midline is the most common fault; it loads the lumbar spine and should be corrected by re-bracing the abs and glutes rather than pushing through the hold. As a beginner, avoid bailing out with a pirouette twist — it teaches the body to give up on the position early. Prefer walking back down or a controlled roll-out, ideally with a spotter the first several times.
Muscles
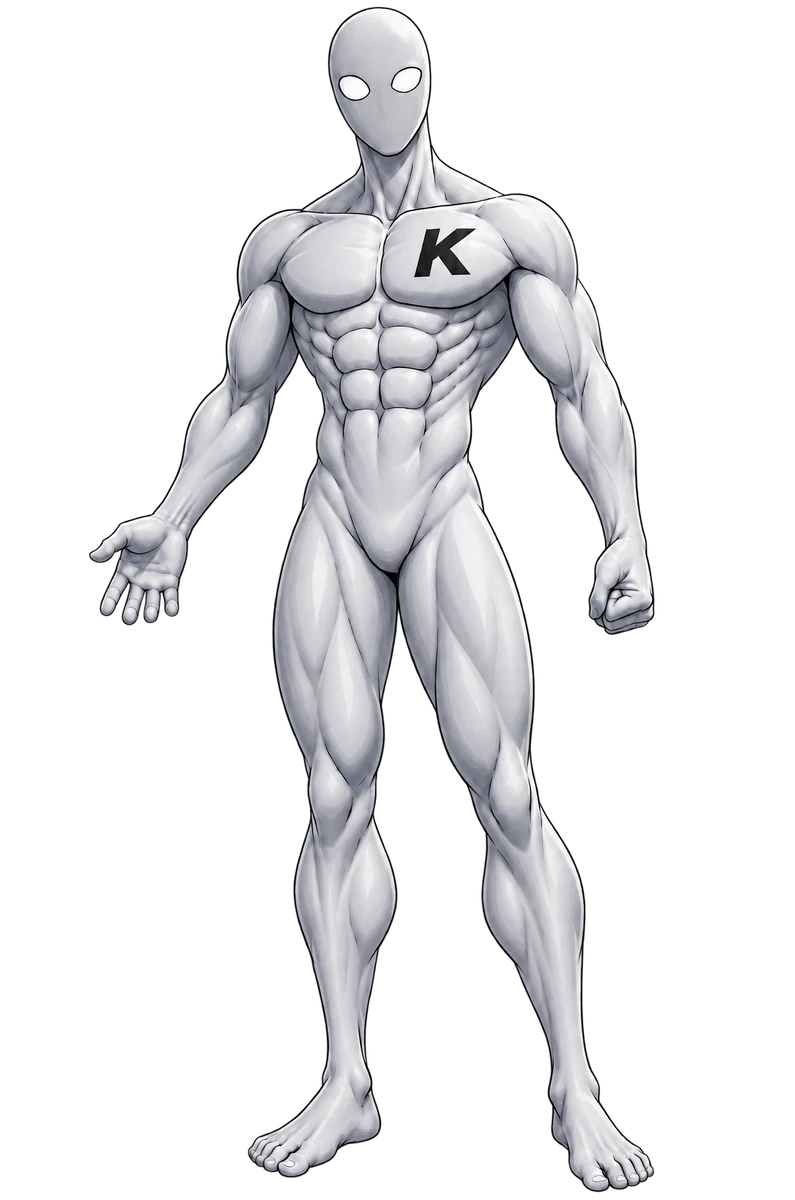
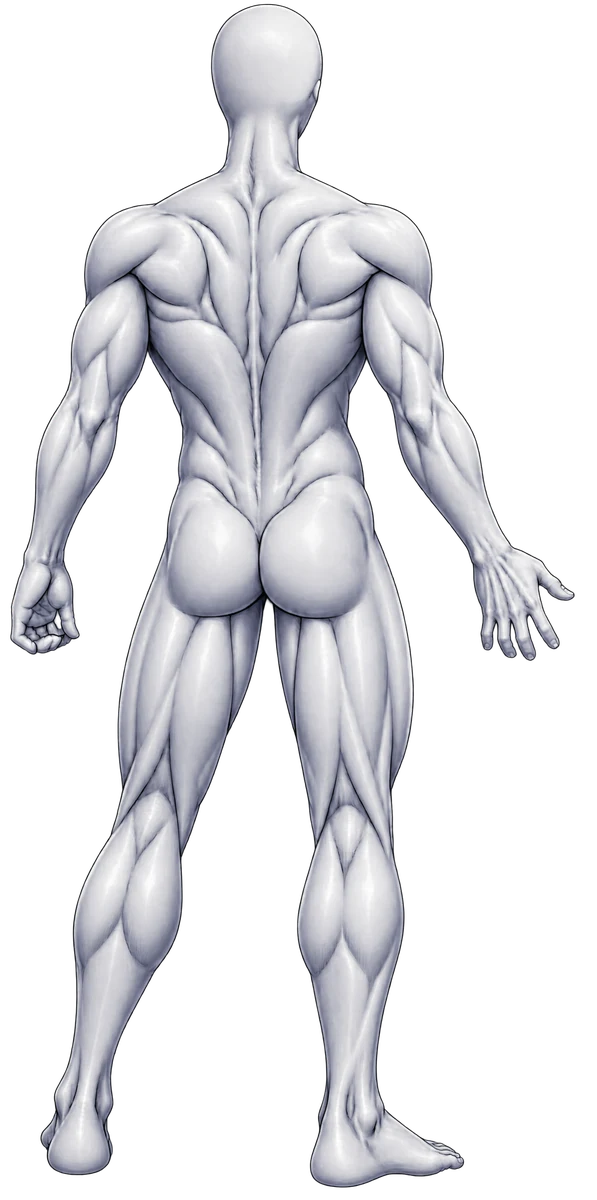
Most of the ongoing work in a well-held wall handstand falls on the shoulders and trapezius, which keep the arm-to-torso angle locked and the scapulas elevated for the whole set. The core stays braced throughout to hold the posterior pelvic tilt and stop the lower back from arching. Forearms and hands do the fine balance corrections — digging through the fingertips is what keeps you from tipping — while the triceps simply keep the elbows locked. Glutes and lower back stay lightly engaged to maintain the straight body line.
Stats
- Strength
- 0.00
- Endurance
- 0.00
- Control
- 0.00
- Mobility
- 0.00
- Balance
- 0.00
- Power
- 0.00
This is primarily a strength-endurance hold: the shoulders, arms, and midline have to stay tense and aligned for the full duration of the set. Because the wall takes over the balance task, control and mobility matter more than balance here — you still need enough shoulder flexion to stack overhead cleanly and enough wrist control to make small corrections.
Completion criteria
Hold a stomach-to-wall (or near-wall) handstand for 20 seconds with a straight, braced body line, making corrections only through the wrists — no shoulder or hip wobbling, and no compensatory back arch.
Progression thresholds
- Lower threshold
- 10 s
- Upper threshold
- 20 s
Once you can hold the position for around twenty seconds with minimal wobble and no compensatory arch, split your sessions between wall holds and kicking up to freestanding handstands — the wall has done its job. If you are still fighting to stay tight and controlled well under that mark, regress to wall plank holds and shorter wall handstand sets until the position stops breaking down.