Element preview
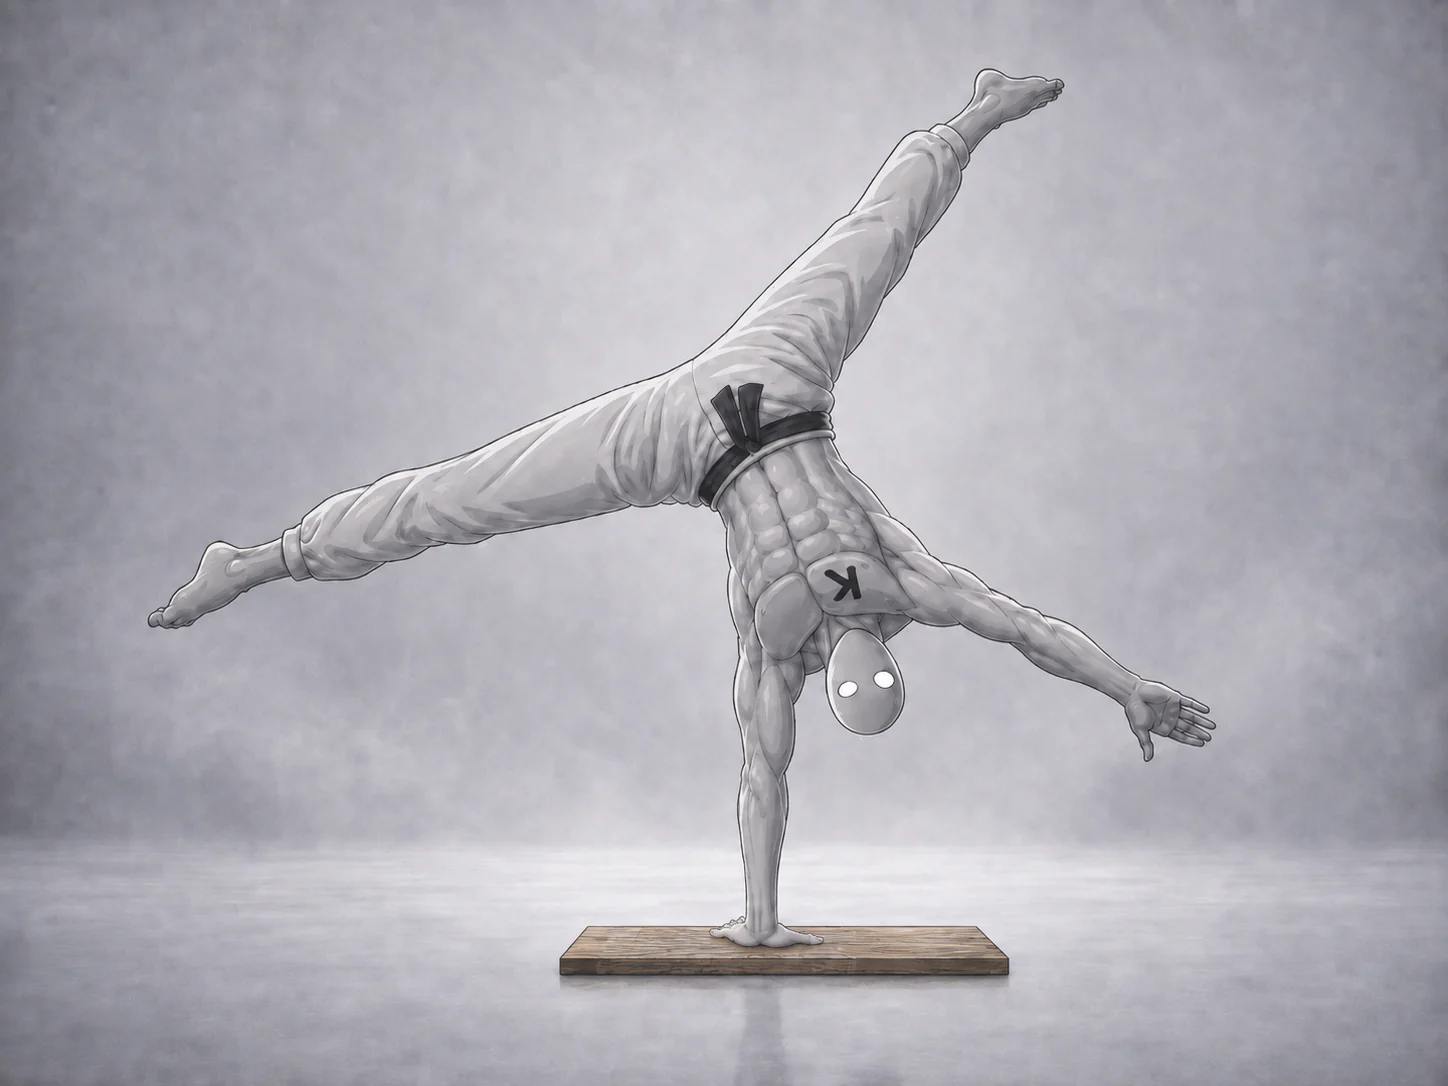
Preview · 0:09
A short look at the whole element in motion.
This is an overview clip, not a technique reference — the form in it may be imperfect. Follow the steps in Technique.
The straddle one-arm handstand is the point where the vertical-push line stops being about pressing and starts being almost entirely about balance: the base of support shrinks from two hands to one, and the athlete has to hold that position while resisting a fall in any direction around the supporting wrist rather than just forward or backward. Opening the legs into a straddle lowers the center of gravity and widens the body's leverage to both sides, which is why it is the standard way this skill is first learned before attempting the straight-body version.
Technique
- Start from a solid freestanding straddle handstand — hands shoulder-width, arms locked, shoulders elevated ("earmuffed"), hips stacked over the hands with the legs open to the side rather than straight together, which lowers the center of gravity and makes the hold easier to control.
- Lock the supporting shoulder in the active, elevated position and begin a slow, controlled weight shift of the hips toward that hand, keeping both arms vertical for as long as possible and letting the free hand progressively lighten.
- As weight shifts off the free hand, let it come up first onto the fingers, then progressively fewer fingers (ring and pinky last), while keeping the head still and the body shape unchanged — all the correction should happen through the wrist of the supporting hand, not by wobbling through the core or legs.
- Once the supporting arm feels genuinely weightless under the free hand, lift the free arm off the floor in segments — elbow first, then forearm, then hand (similar to a ballet développé) — rather than snapping the whole arm up at once, so the rest of the body doesn't get disturbed by the lift.
- Keep the free arm bent and close to the floor at first so you can tap back down immediately if you start to fall; only extend it further from the body once you can hold the position with control.
Preparation
Before working the straddle one-arm handstand, you should already have a freestanding two-arm handstand that holds for a consistent minute with minimal correction, plus a strict ring handstand and freestanding handstand push-ups — the prerequisites for this node. On top of that, the skill has its own build-up: a controlled weight shift to one arm from a pushup position and a chest-to-wall handstand, then the same shift in a freestanding straddle handstand, holding on progressively fewer fingers of the free hand. A consistent 30-second fingertip hold in the straddle position is a reasonable checkpoint before attempting to lift the free hand off the floor entirely.
Risks
Because a one-arm handstand has a single point of contact, you can fall in any direction around the supporting hand rather than only forward or backward as in a two-arm handstand, so corrections have to be caught earlier and a clear bail-out (stepping down or returning the free hand to the floor) must be practiced before attempting longer holds. The supporting wrist and fingers — especially the ring and pinky — take a concentrated, sustained load close to the ring-finger joint; some joint soreness while building tolerance is normal, but soreness that does not settle between sessions calls for a break rather than pushing through it. Losing shoulder tension in the supporting arm during the weight shift is the most common way the hold breaks down and the fall becomes uncontrolled, so only attempt the straddle one-arm handstand once the freestanding two-arm handstand and a strict, controlled fingertip weight shift are both solid.
Muscles
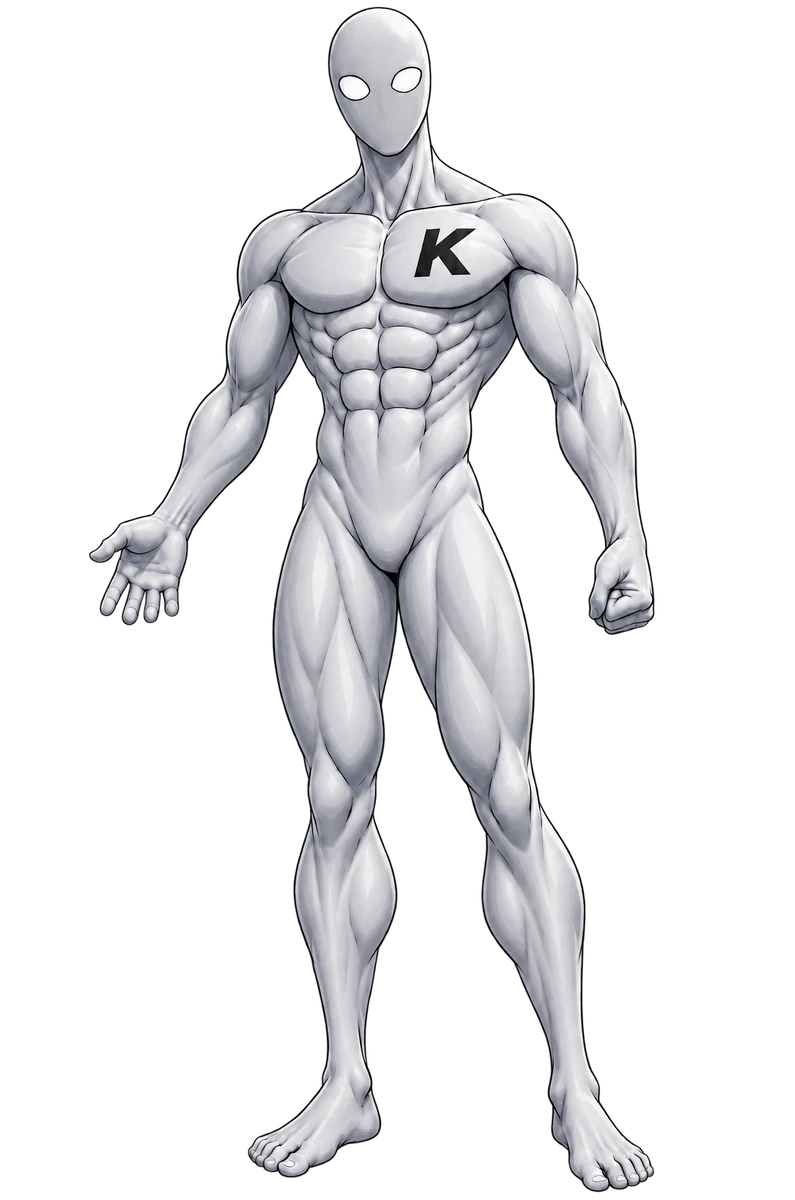
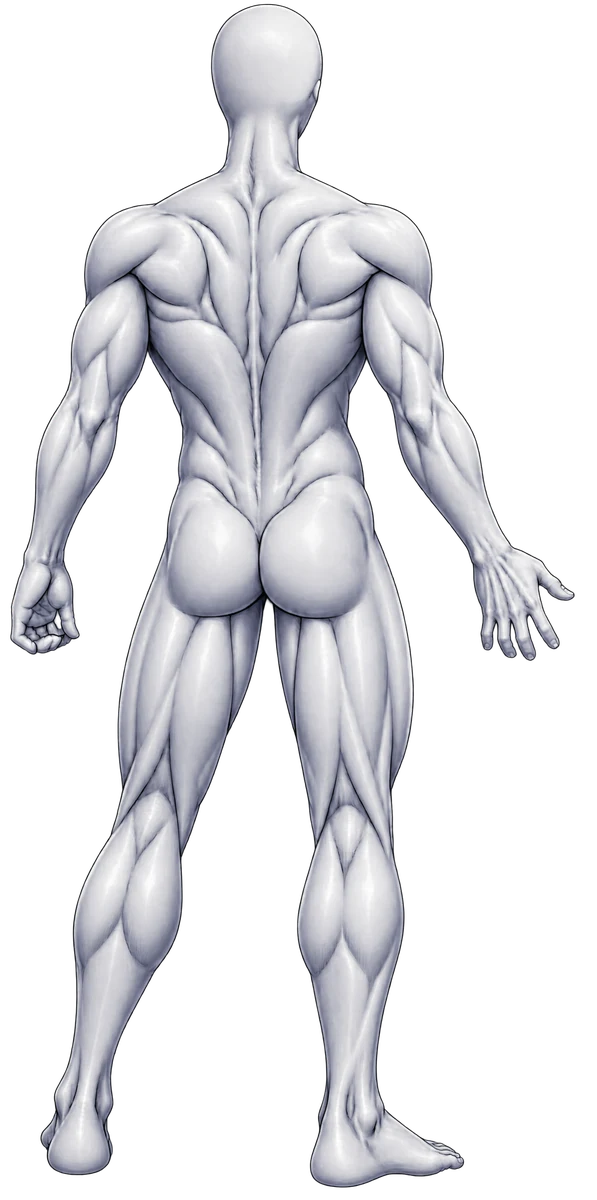
The supporting shoulder now carries the full bodyweight alone rather than sharing it across two arms, so shoulder and trapezius demand both rise sharply relative to the two-arm ring handstand. The core works hard isometrically to keep the body from rotating around the single point of contact — the straddle position makes that rotation easier to resist than the straight-body variant, but it does not eliminate the demand. The forearms and hands take on a much more concentrated balancing role than in any two-arm handstand, since every correction now happens through the wrist and fingers of one hand instead of being shared between two. The triceps keep the supporting elbow locked under full bodyweight, and the latissimus, glutes, and lower back contribute as postural stabilizers that keep the straddled legs and torso in one rigid line.
Stats
- Balance
- 0.00
- Control
- 0.00
- Strength
- 0.00
- Endurance
- 0.00
- Mobility
- 0.00
- Power
- 0.00
This is a balance- and control-dominant skill, not primarily a strength movement — supporting bodyweight on one locked arm is well within reach of anyone with a solid handstand push-up, but staying balanced on a single hand while resisting rotation is what actually makes it hard. Strength still plays a real supporting role because the single arm has to lock out and stabilize the full bodyweight alone, and a small endurance and mobility component reflects the sustained hold and the hip openness the straddle position requires.
Completion criteria
Lift the free arm fully off the floor and hold a straddle one-arm handstand for 5 seconds on each arm with minimal wobble, before returning it under control (not falling out of the position).
Progression thresholds
- Lower threshold
- 3 s
- Upper threshold
- 10 s
Once a controlled straddle one-arm handstand hold reaches around 10 seconds with the free arm fully extended away from the body, it's a reasonable point to start working toward the straight-body one-arm handstand. If the free arm keeps needing to tap back down before 3 seconds, spend more time on the fingertip weight-shift stage and the strict ring handstand before returning here.