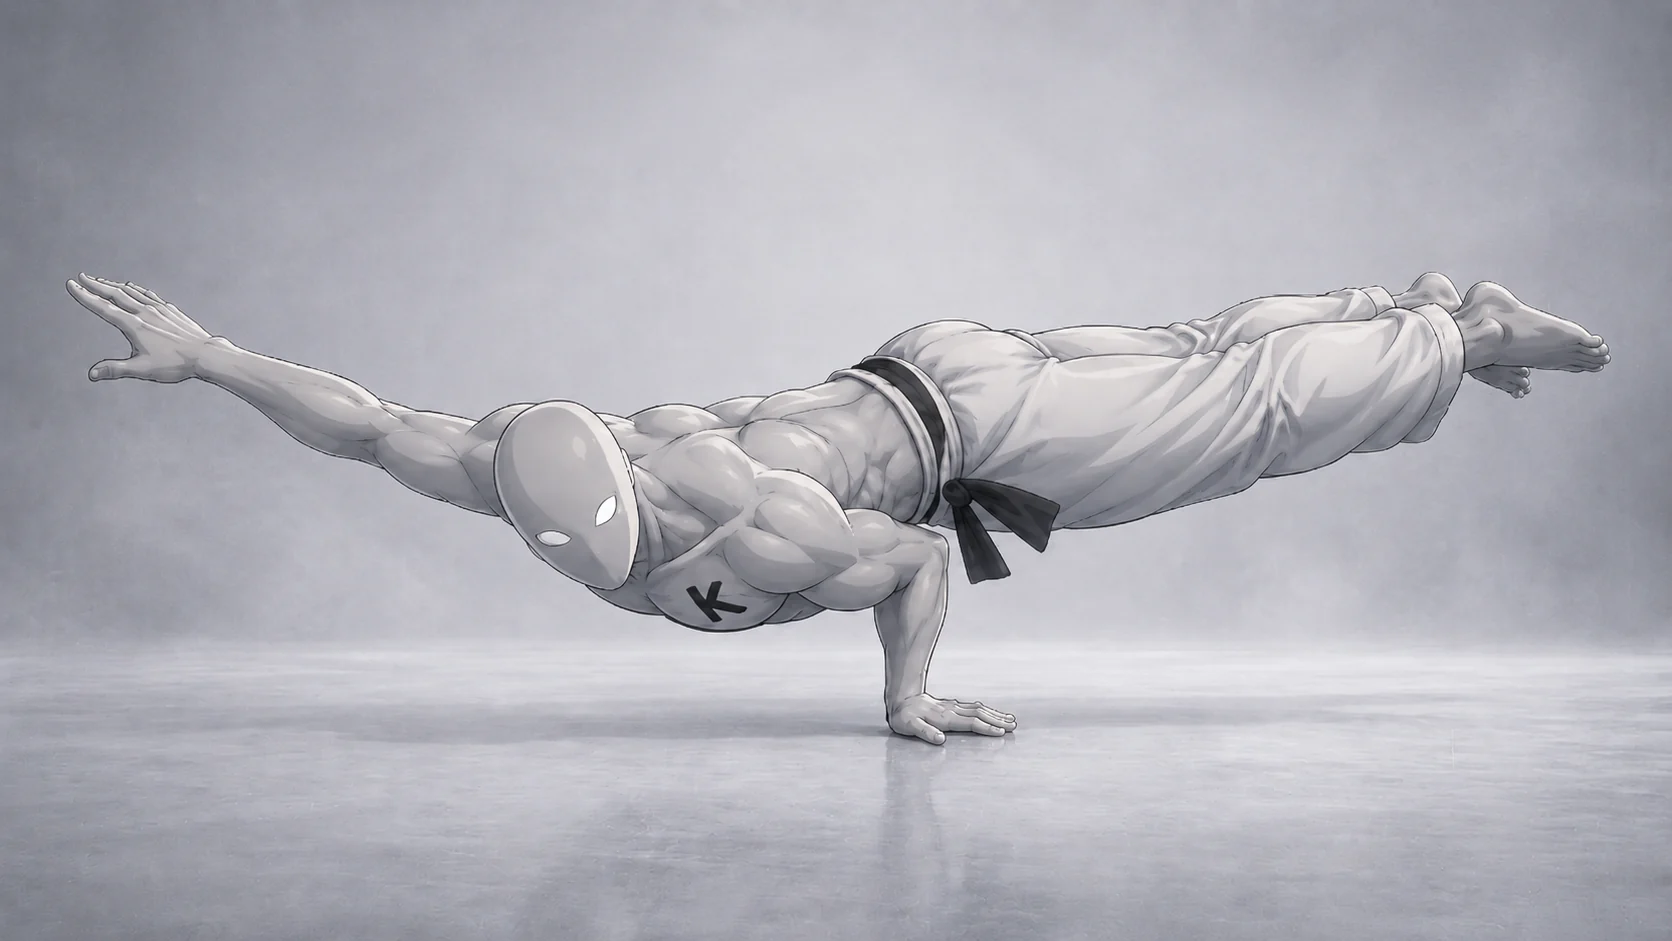
The one-arm elbow lever (sometimes called the "crocodile") takes the two-arm elbow lever and removes half of its base of support. The torso still rests on a bent elbow pressed into the abdomen, but now a single hand and forearm must absorb the full body weight and find the balance point alone, which is why it is treated as the natural one-arm entry point in hand-balancing progressions.
Technique
- Build directly from a comfortable two-arm elbow lever. Turn the supporting hand outward so the fingers point roughly out to the side and the thumb points back toward the head; this keeps the wrist out of an extreme flexed angle once it carries the full body weight.
- Set the supporting elbow firmly against the midline of the abdomen, close to the navel, before shifting weight onto that side. Spread the fingers wide and keep the pressure on the fingertips rather than the heel of the hand.
- Shift the load onto the supporting arm gradually: start with the free hand only lightly assisting (fingertips down, or resting on a low block), then reduce that assistance in small steps across sessions rather than removing it all at once.
- As weight shifts onto the one arm, actively pull the shoulder blade down and back and engage the lat and back muscles on the working side to lock the shoulder in place; a "loose" shoulder is the most common reason the position collapses.
- Extend the free arm out to the side or forward for a counterbalance, straighten the legs, and squeeze the glutes so the hips do not sag. Keep a long, rigid line from shoulder through hips to ankles.
- Fine-tune balance with small pressure changes through the fingertips and forearm rather than by bending at the hips or knees. Lower under control before the shoulder collapses or the hand slides out of position.
Preparation
Equipment and conditions
- A clear, firm, level floor with enough room to lower the feet or roll out safely.
- Optional low block or parallette under the free hand for early fingertip-assisted attempts.
- A thorough wrist and shoulder warm-up before every loaded attempt.
The locked prerequisite is the elbow lever: a comfortable, controlled two-arm hold is the baseline before shifting weight to one side. Coaches commonly bridge the gap with an assisted approach — start with the free hand lightly supporting on the floor or an elevated block, then reduce that support in small increments over multiple sessions rather than attempting a clean one-arm lift right away. The frog stand and planche lean remain useful conservative drills for the underlying forward weight shift and wrist loading, and general pushing and wrist-loading work (for example wall-supported handstand practice) helps prepare the wrist for single-arm weight-bearing.
Risks
- The one-arm elbow lever loads a single wrist with the full body weight at a demanding angle. Warm the wrist and shoulder up thoroughly before every attempt, build tolerance gradually, and stop if you feel sharp or persistent wrist pain; ongoing wrist pain, swelling, or reduced motion should be assessed by a qualified healthcare professional.
- Training the same side repeatedly can build a strength and mobility imbalance between arms. Rotate sides across sessions once both sides can hold the two-arm version comfortably.
- Letting the supporting shoulder blade wing or ride up removes the lock that keeps the position stable and can strain the shoulder joint. Regress to more assisted variations (fingertip support, elevated free hand) whenever the shoulder cannot stay packed.
- Because the base of support is a single hand, a fall is more likely and less predictable than in the two-arm version. Practice over a clear, padded, or matted area while the balance point is still being learned.
Muscles
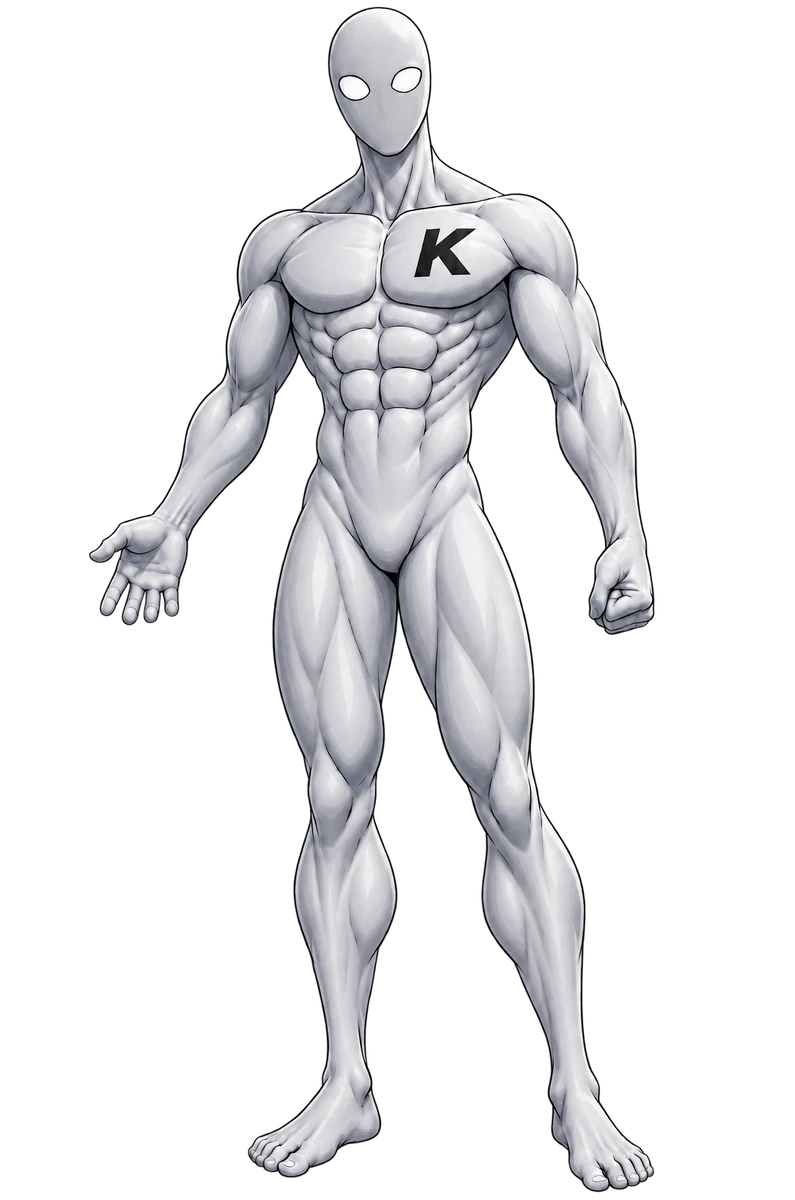
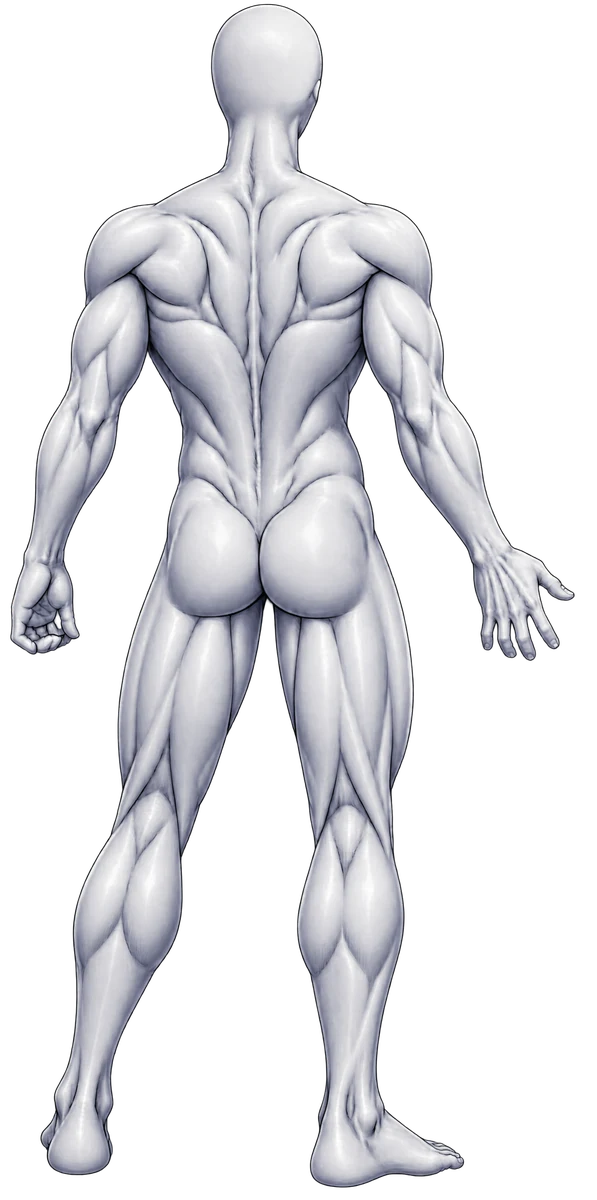
Removing the second point of contact roughly doubles the demand on the working shoulder, hand, forearm, and triceps compared with the two-arm hold, and the core now has to resist rotation toward the unsupported side rather than simply holding a straight line. The latissimus dorsi and trapezius work harder than in the two-arm version to actively pack and lock the working shoulder blade against the ribcage, which is the main stabilizing job in this skill. Chest, lower back, glutes, and quadriceps play a similar supporting role to the two-arm elbow lever, keeping the trunk and legs organized as one rigid segment.
Stats
- Balance
- 0.00
- Control
- 0.00
- Strength
- 0.00
- Endurance
- 0.00
- Mobility
- 0.00
- Power
- 0.00
Balance remains the dominant demand, and it becomes narrower and less forgiving than the two-arm version because the base of support shrinks to one hand. Control is slightly higher than in the two-arm elbow lever since the shoulder blade and trunk must be actively locked against the pull toward the unsupported side. Strength also rises meaningfully — the arm, wrist, and shoulder now carry the entire body weight alone — but the skill is still fundamentally a balance-and-positioning challenge rather than a maximal-strength one.
Completion criteria
Product completion estimate (no independently verified duration standard exists for this skill): hold a one-arm elbow lever for roughly 8-10 seconds on each side with the elbow secure against the abdomen, the free arm not touching the floor, shoulders and hips level, and a controlled entry and exit on the trained side.
Progression thresholds
- Lower threshold
- 5 s
- Upper threshold
- 15 s
The 15-second upward checkpoint is a conservative product calibration for moving on to more advanced one-arm balance work, not a verified external standard. If the one-arm hold is unreliable below about 5 seconds, return to fingertip-assisted or two-arm elbow lever practice and rebuild the shoulder lock and hand pressure before removing more support.